Hiking Photography Tips: How to Take Perfect Hiking Photos

We all know that hiking has a ton of health benefits, and many photographers are capturing moments that mean something to them.
If you’re an outdoor photographer, hiking trails provide some of the best opportunities for taking amazing photos. Something about the beauty and serenity of nature seems to make photos look more spectacular than those taken elsewhere.
This article will discuss some hiking photography tips for taking perfect photos. We’ll start with camera equipment and settings, choosing the best time of day to take photos and photography basics for post-processing your photos.
Let’s begin.
The Best Hiking Photography Tips
Camera Gear
Photo enthusiasts know the most important tip for epic outdoor photography relies on the type of camera gear you’re packing.
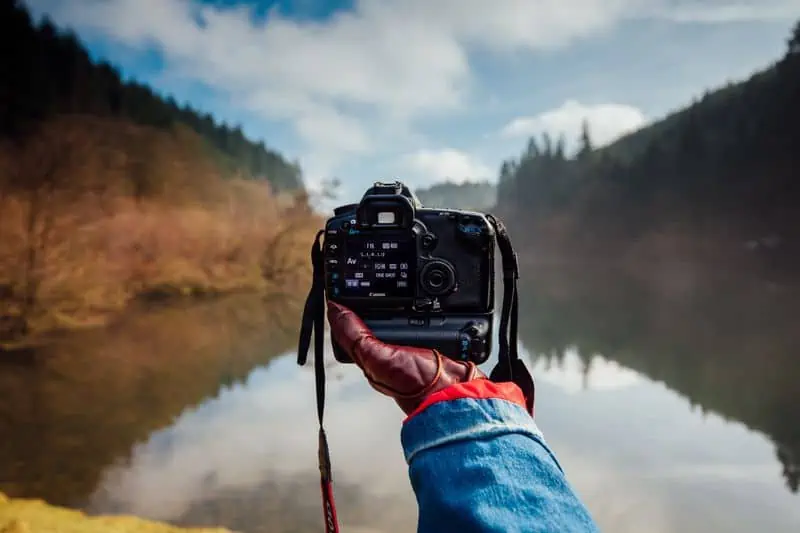
You’ll need a good hiking camera that’s weather-resistant and can handle the rugged conditions you might encounter while hiking, such as dust, dirt, water, and humidity. A mirrorless camera or DSLR camera are both great choices for hiking photography.
When it comes to lenses, you’ll want to pack a versatile selection that can cover a range of different scenarios, from close-up macro shots to wide-angle landscapes. A good rule of thumb is to bring along a prime lens and a zoom lens.
For example, the Canon EF 50mm f/14 USM Lens is an excellent prime lens for hiking photography, while the Canon EF 24-105mm f/14L IS II USM Lens is a great zoom lens option. For landscapes, you’ll want a wide-angle lens to capture as much of the scene as possible.
If you’re looking to photograph wildlife or people, then you’ll need a telephoto lens with sufficient zoom power.
Other essential camera gear includes:
Extra batteries: There’s nothing worse than having your camera die in the middle of taking photos, so make sure you have plenty of extra batteries
Camera Settings
Having the right camera settings for your hiking photography is essential for capturing great photos. One of the most important things to remember is to keep your camera in manual mode. This will allow you to control the settings and avoid having your camera automatically adjust them when you don’t want it to.
Here are a few other hiking photography tips for setting your camera:
Shutter Speed
The shutter controls how long the sensor is exposed to light. A faster shutter speed will freeze motion, while a slower shutter speed will create a blur effect. In addition, you’ll want to use a faster shutter speed for hiking photography to avoid any blurring from camera shake or subject movement.
A good rule of thumb is to use a shutter speed that’s at least as fast as your focal length. So, if you’re using a 100mm lens, then your shutter speed should be no slower than the 100th of a second. During the day, you should have enough light to use a fast enough shutter speed, but if you’re hiking in low light conditions or photographing stars at night, then you’ll need to use a slower shutter speed and compensate with a higher ISO setting.
Aperture
The aperture controls how much light enters the camera and affects the field’s depth. For hiking photography, you’ll want to use a smaller aperture (higher f-stop number) for landscape shots to ensure everything is in focus. You can also use a larger aperture (lower f-stop number) for wildlife and portrait shots to create a shallower depth of field and more blurred backgrounds.
ISO
The ISO controls the camera’s sensitivity to light. For hiking photography, you’ll want to keep the ISO as low as possible to avoid any noise or distortion in your photos.
White Balance
White balance is used to adjust the colors in your photo so that they look more natural. For example, auto white balance is usually fine for hiking photography, but you may need to adjust it depending on the type of lighting you’re working with.
Post-Processing Tips
Once you’ve taken some great hiking photos, it’s time to start post-processing them. This is where you can bring out the best in your images and make them look even more amazing.
Here are a few simple post-processing tips:
- Use photo editing software like Lightroom or Photoshop to increase the contrast and saturation of your images.
- Try using a high pass filter to sharpen details and make your photos pop.
- Add a vignette effect to draw attention to the center of the image.
The Best Time of Day for Hiking Photography
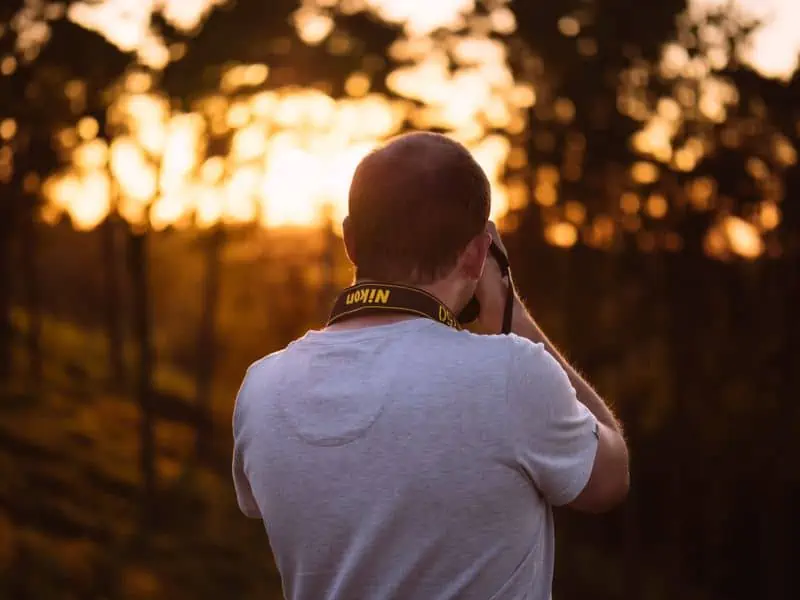
One of the most important hiking photography tips is to time your shots correctly. The best time for taking photos for landscape shots is during the golden hour, which is the hour right after sunrise and before sunset when the light is at its warmest and most beautiful.
If you’re looking to photograph wildlife, try to plan your hike around their feeding times. This will increase your chances of getting some great shots of animals in action.
Another good tip is to wake up early and head to your destination to avoid the crowd.
Using a Person In Your Photo For Scale
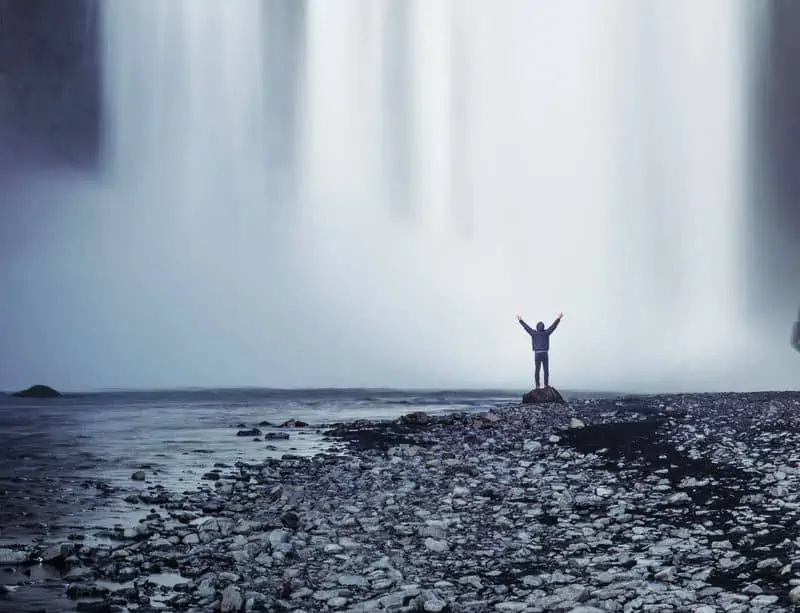
Using a person in your landscape photography makes the environment feel more real and gives the viewer a sense of scale. This is a great hiking photography tip for adding interest to your photos and making them more visually appealing.
There are a few ways to go about doing this:
- You can have someone stand in the photo’s foreground to provide a sense of depth and perspective.
- If you’re photographing a large landscape, you can use a person as part of the composition to show how big or small it is.
- You can also use a person as an interesting subject matter in their own right. Try having them pose in front of some scenic backdrop for an eye-catching photo.
Create Interesting Perspectives
Having your camera near the ground can give your hiking photos a unique perspective and make them more interesting to look at. This is a great hiking photography tip for adding visual interest to your shots.
You can get low to the ground by lying down, kneeling, or even sitting on the ground. You can also try using a tripod or monopod to get the camera in position.
Be Creative With Your Composition
When it comes to hiking photography, the composition is key. There are many different ways to compose an interesting photo, so be creative and experiment with different ideas.
Here are some tips for getting started:
- Include foreground elements in your compositions to add depth and interest.
- Try using leading lines to draw attention towards the subject of your photo.
- Experiment with the different rule of thirds compositions to add visual appeal.
- Use negative space to create a more minimalistic and eye-catching composition.
Final Thoughts
Hiking photography is a great way to capture the beauty of nature and the outdoors. By following these hiking photography tips, you’ll be well on your way to taking some amazing shots on your next hike. Also, don’t forget your hiking boots and a camera backpack for travel to protect your gear from the elements.